Please watch the below demo with details on how to set up your Foil and/or Spot UV layers. Same process applies for embossing and debossing as well. Create the necessary layers to keep your project organized.
STEP 1
To achieve a flawless foil print layer setup in Adobe Illustrator, follow these expert recommendations:
Begin by ensuring your layers are organized. The first step is to lock your template layer, placing it at the top of the layer stack. This will protect it from accidental modifications while you work.
If you’re utilizing foil or spot UV gloss, assign each of these special layers to its own dedicated layer. This segregation ensures precise control and allows you to manipulate them individually as needed.
Subsequently, position the remaining artwork, consisting of CMYK elements, on the bottom “artwork” layer.
By adhering to these guidelines, you’ll be equipped to establish an impeccable foil print layer setup in Adobe Illustrator.
STEP 2
To ensure a well-organized artwork setup, follow these steps for separating your elements onto different layers. If you have a logo that requires both color printing and a clear UV effect, implement the following instructions:
Begin by placing your logo on the artwork layer, aligning it appropriately within the design. This layer will contain the overall composition of your artwork.
To incorporate the spot UV effect, create a separate layer specifically designated for spot UV elements. Copy your logo from the artwork layer and paste it in place onto the spot UV layer. This ensures precise alignment and consistency between the two layers.
On the spot UV layer, modify your logo by converting it into a solid shape. Choose 100% Black, ensuring it will be the area that is Spot UV’d.
By carefully organizing your artwork onto different layers and implementing these steps, you can effectively manage a logo that requires both color printing and a clear UV effect, resulting in a visually striking design.
STEP 3
To ensure optimal print readiness, follow these recommendations for saving your files. Make sure to outline your text and embed any linked images before proceeding with the following steps:
Begin by turning off the visibility of all layers except the template layer, which should remain active at all times. This ensures that the template serves as a consistent reference throughout the process.
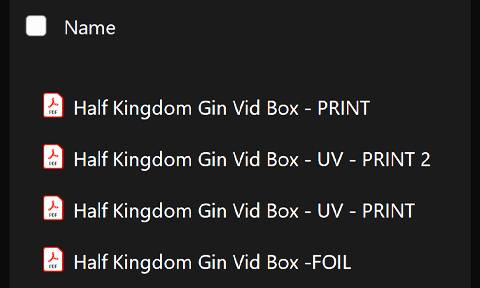
Activate the spot UV layer and leave it visible. Save your file as a print high quality PDF, taking care to label the file name with the corresponding layer name at the end. This step captures the design with the spot UV effect intact.
Return to your file and disable the visibility of the spot UV layer. Then, enable the visibility of the next layer in the sequence. Save the file once again, appending the layer name to the file name to maintain clarity and organization.
Repeat the process for each subsequent layer, ensuring that only one layer is visible at a time. By systematically saving each layer individually with its corresponding name in the file name, you establish a comprehensive and structured file management system.
Following these steps and adhering to proper file naming conventions, you can confidently save your design for print, maintaining the necessary outlines and embedded images, while efficiently managing the visibility of each layer.